Air Fryers can do more than just fry breaded food. In fact, one of the reasons why air fryers have gained its popularity (aside from making potato wedges) is an air-fried chicken breast!
It gives you a delicious, healthy alternative for your meal prep. Mastering an air-fried chicken breast makes it perfect to pair it with salads, rice grains, or you can even turn into a ready-to-go sandwich.
Air-fryers only require an ample amount of your time to cook your meal, making it a faster option than your regular countertop oven.
Pay closely to cook time, including the time after your appliance has its power shut off. Retrieve your chicken breast after it’s been cooked to avoid it from drying out.
Here’s generally how to cook chicken in an air fryer!
Making An Air Fried Chicken Breast
- Accuracy is everything. Make sure you have a working kitchen scale to maximize your air-frying experience. Find out the weight of your slice of breast as it will dictate how long it’ll take to cook them.
- If you don’t have one in your home, then take the initiative to canvas chicken breasts of the same size at your local meat shop. The weight is most likely placed outside the package, so you just simply divide the number of breasts in it to get the weight per slice.
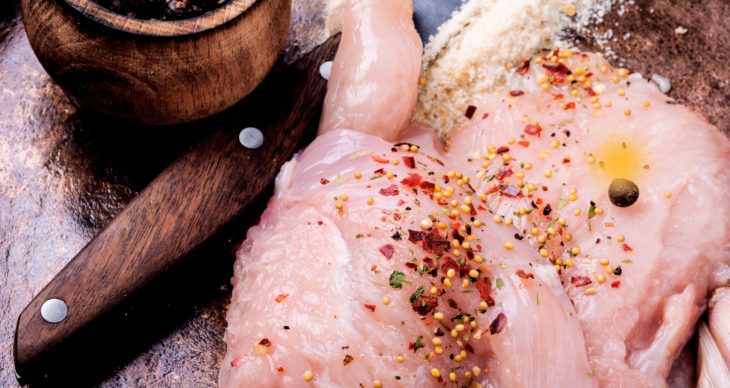
- Season your meat depending on your desired taste. I usually go for my usual chicken seasoning, which mainly consists of garlic, salt, and pepper. You don’t need to have a detailed measurement for this process.
- Focus on seasoning the chicken on its presentation side, you’ll see this as the smoother area of the meat. Spray it a little with cooking spray, and then dash it with your homemade seasoning blend.
- After that’s done, put the seasoned portion of the breast down to the device’s basket. This will allow you to season side B of the meat as it’s now facing to you.
- Set your timer for at least one-half of the projected cook time, which is usually at ten minutes. I air-fry my chicken breast 360 degrees in that allotted time.
- Flip the breasts over to the other side, and continue to cook for another good ten minutes. Total cook time would be at 20.
- Immediately remove the meat from the unit’s basket to avoid it from drying out. Let it sit out for at least five minutes, allowing the juices to thoroughly redistribute for a tastier result.
Important Notes
Chicken Breast Cook Times: Always cook according to the weight of your meat to prevent you from overcooking or undercooking your meal.
- 6 oz. – 18 min.
- 5 oz. to 7.5 oz. – 19 min.
- 75 oz. to 8.5 oz. – 20 min
- 9 oz. to 10 oz. – 21 min.
Cook times differ from one unit to another, always read the instruction manual.
Timer: Invest in a digital timer for accuracy, use your smartphone if you have to. Air-fryers that have a knob timer aren’t as accurate than the ones on your phone or microwave.
Cooking Basket Capacity: Don’t cook more than you can fit in in your cooking basket. Three to four chicken breasts is optimal to maximize results.
Check out other great recipes right here!